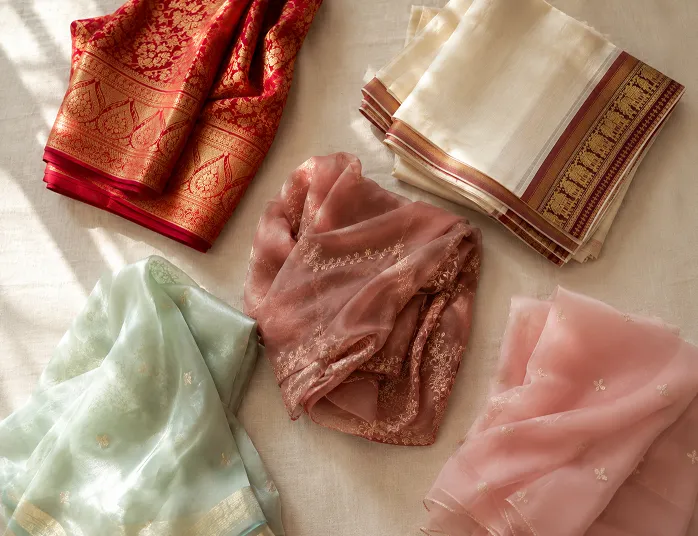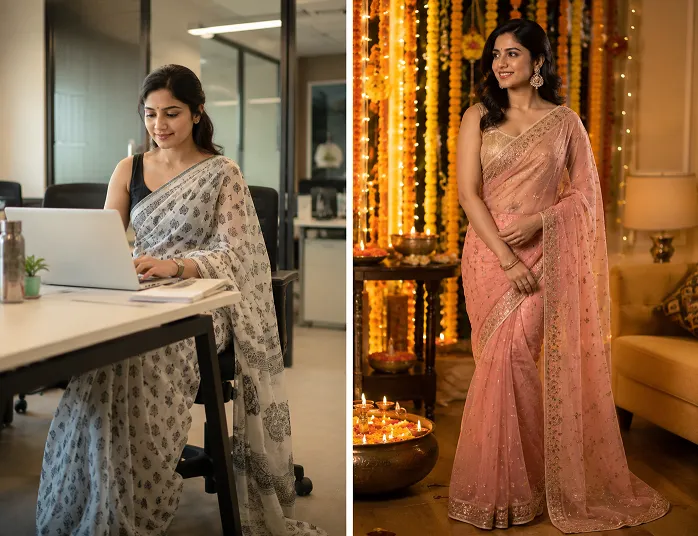
Your cousin’s wedding is nine days away, and the same green Kanjeevaram has been folded and unfolded twice already, the pleats slipping loose somewhere between the mirror and the mandap steps. That frustration is usually what sends women searching for how to convert normal saree to ready to wear saree.
Pleating six yards under time pressure in heels is nobody’s idea of a good morning.
You’ve probably seen 1 minute drape saree hacks all over Instagram promising a quick pin-and-tuck fix. Those work for one event, and they do not survive a full day of sitting, standing, and dancing.
This guide covers the real process, with actual measurements, plus something almost nobody tells you upfront: this change cannot be undone cleanly, and not every saree deserves it.
Table of Contents
What Ready-to-Wear Actually Means for a Saree
A ready-to-wear saree is not the same thing as a plain pre stitched saree tutorial you might have bookmarked. Most online tutorials only cover the pallu pinning. A genuine conversion stitches the pleats, the waist section, and often the pallu into one semi-permanent unit that you step into and hook shut.
Think of it less like altering a saree and more like building a fitted skirt out of it, with the drape of the pallu left loose over the shoulder. Once stitched, you are not redraping this saree fresh each time. You are wearing the same fixed shape every time, which is exactly what makes it fast.
Instant saree draping tricks solve the problem for a single wear. Conversion solves it permanently, but permanent is the operative word, and that changes how carefully you should choose which saree goes under the needle.
Most women who search for how to convert normal saree to ready to wear saree are really asking one question underneath it all, how do I stop dreading the drape every single time.
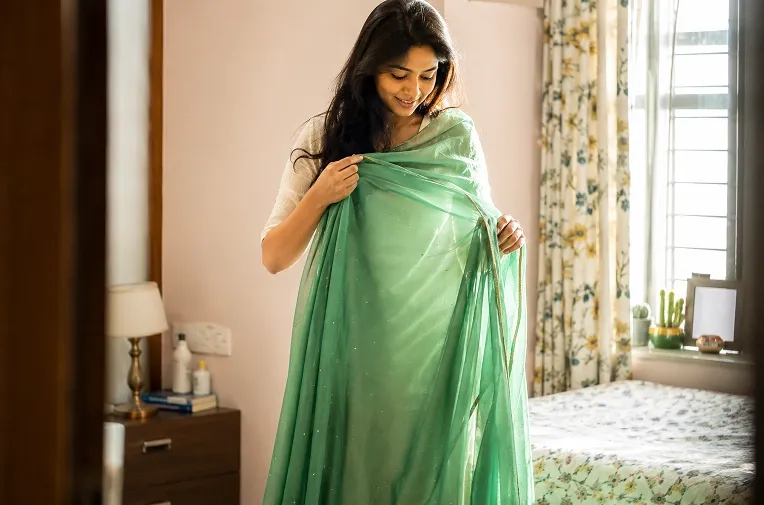
Is Your Saree Actually a Good Candidate for This?
Here is the part most guides skip. A soft georgette or chiffon takes to pleating and stitching easily because the fabric folds flat and holds a crease. A stiff Banarasi or a heavily embellished net saree does not behave the same way under a machine.
Georgette has more body than chiffon, which is exactly why it holds a stitched pleat cleanly even after a full evening of movement. Chiffon, by contrast, is softer and slips more, so the pleats can loosen faster on a chiffon conversion than on a georgette one.
If your saree is stiff, heavily worked with zari, sequins, or aari embroidery, think twice. The needle has to pass through embroidered sections repeatedly to hold pleats in place, and that stitching often distorts the motif or leaves visible needle marks that were never there before.
Banarasi silk carries real weight, and once that weight is gathered into a fixed pleat section at the waist, it sits heavier on one point of the body than a traditional drape does, where the load is spread across the shoulder and waist together.
A wide or heavily worked border makes this worse. Once that border gets folded into the pleats, it adds real bulk right at the waistline, which is usually the actual reason a finished conversion looks stiff instead of falling naturally.
I will say this plainly, because most tutorials will not: do not convert an heirloom saree. If it belonged to your grandmother or mother, or if you would be genuinely upset losing the option to wear it as a traditional drape again, leave it alone.
Conservation guidance on caring for heritage textiles and costumes exists precisely because older fabric and hand embroidery do not hold up well to repeated alteration. A stitched saree cannot be quietly returned to its original state if you change your mind next year.
If your saree is a plain or lightly worked cotton, georgette, or soft silk with a slim border, it is a strong candidate. Anything with a wide or heavy border is the one to think twice about, no matter how light the base fabric feels.
That is the real answer to whether you should convert normal saree to ready to wear saree in the first place.
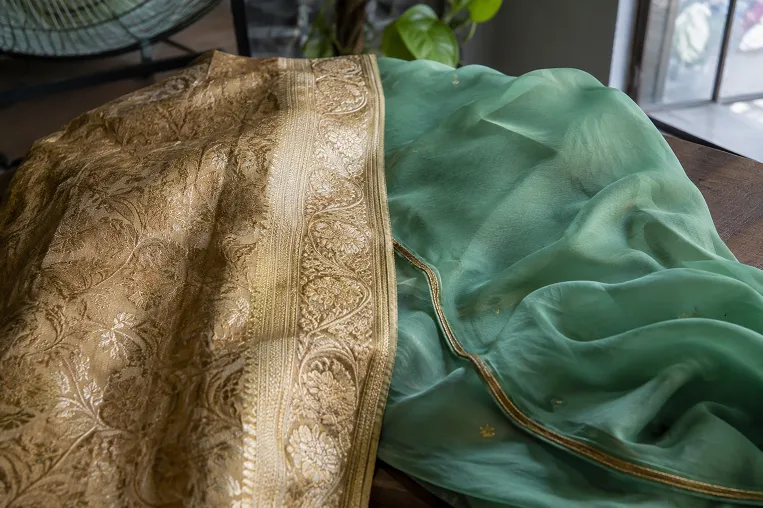
Tools and Materials You Will Need
You need a sewing machine, matching thread, a measuring tape, tailor’s chalk, and sharp fabric scissors. For the waistband, 1 to 1.5 inch wide elastic works well on cotton and georgette, while heavier silk holds better with 2 inch elastic since it needs more support against the fabric’s own weight.
You will also need hook and eye sets, or Velcro if you prefer a softer closure against the skin. The elastic width and the machine tension matter most for a durable result. Thread colour and chalk brand are flexible, use whatever you already have at home.
This level of precise, practical fabric handling is exactly the kind of knowledge that comes from actually manufacturing garments, which is where Ethora’s experience at our Surat unit comes in.
How to Convert Normal Saree to Ready to Wear Saree at Home
This is the section with the real numbers, the part most searches for how to convert normal saree to ready to wear saree never actually deliver. Every measurement below assumes a standard 5.5 metre saree and a waist between 28 and 34 inches. Scale slightly for sizes outside that range.
Step 1: Measuring the Waist and Marking the Pleats
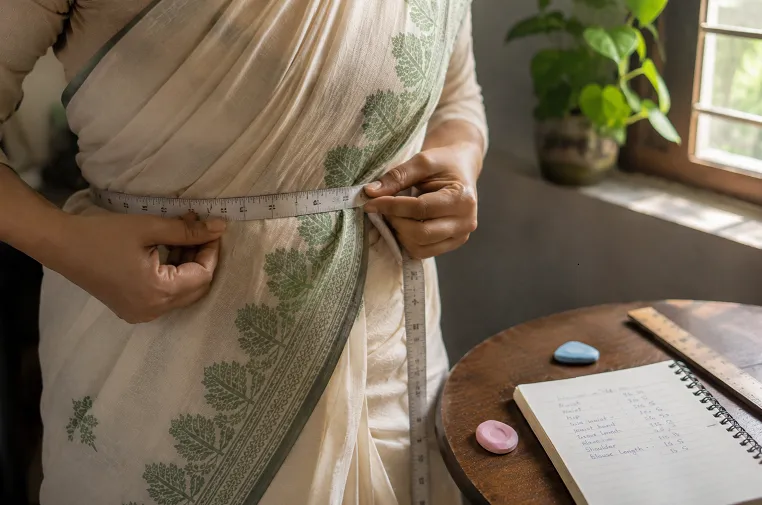
Measure your actual waist where the saree will sit, then subtract 2 inches. That smaller number is your elastic length, because elastic needs negative ease to stay snug rather than sagging by evening.
While the tape is out, note your hip measurement and how long you want the finished pallu too, not just the waist. Both affect where the pleats sit and how much fabric is left over for the hooks, so measuring only the waist is how most home conversions end up fitting wrong at the hip.
Fold the pleating section of the saree into 5 box pleats, the standard most tailors work with, each finished to about 2 to 2.5 inches wide. Mark every fold with tailor’s chalk before you stitch, since eyeballing pleat width is the single biggest reason home conversions come out uneven.
Step 2: Attaching the Elastic
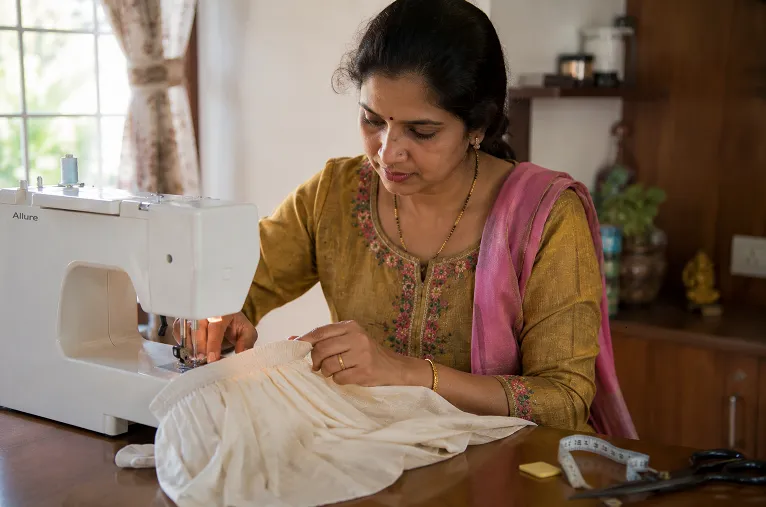
Stitch the elastic to the pleated waist section using a zigzag stitch, not a straight stitch, so it can stretch without the thread snapping. Sew it flat, not twisted, checking every few inches as you go.
Step 3: Placing the Hooks and Closures
Position the first hook and eye set 1 inch below the top of the waistband, at the side seam where the fabric overlaps. Space additional sets 1.5 inches apart down the opening, using two to three sets total depending on how much overlap your fabric has.
Step 4: Finishing the Pallu
Pin the pallu pleats the way you would normally drape them, then stitch along the top edge only, leaving the fall of the fabric loose. This keeps the pallu looking like a real drape instead of a flat, stiff panel.
If you are unsure whether your current waist and shoulder proportions suit a fitted pleat section at all, Ethora’s free body type calculator gives you a read on your shape in under two minutes based on your actual measurements, which helps before you commit fabric to a permanent seam.
What Happens If You Gain or Lose Weight After Conversion
Nobody talks about this, and it matters more than pleat width does. A stitched saree is built to one waist measurement. Fluctuate by more than 2 to 3 inches in either direction and the fit visibly changes, unlike a traditional drape that adjusts every single time you tie it.
If you have gained weight, a tailor can usually let out the side seam by an inch or two, provided you left enough seam allowance during the original stitching. That is why leaving extra fabric at the sides during conversion is worth the small effort.
If you have lost weight, replacing the elastic with a shorter length is a quick fix that does not require unpicking the whole waistband.
There is no fixing this without a tailor once it happens. This is the honest trade-off nobody selling conversion services mentions: you are locking in a body measurement, not just a garment shape.
The Mistake Most Women Make, and One Opinion I Will Not Soften
Most women convert the first saree they reach for, usually the one they are tired of redraping, without checking whether the fabric can actually handle it. That is backwards. Convert the saree you wear often enough that the permanence is worth it, not the one you happen to be annoyed with this week.
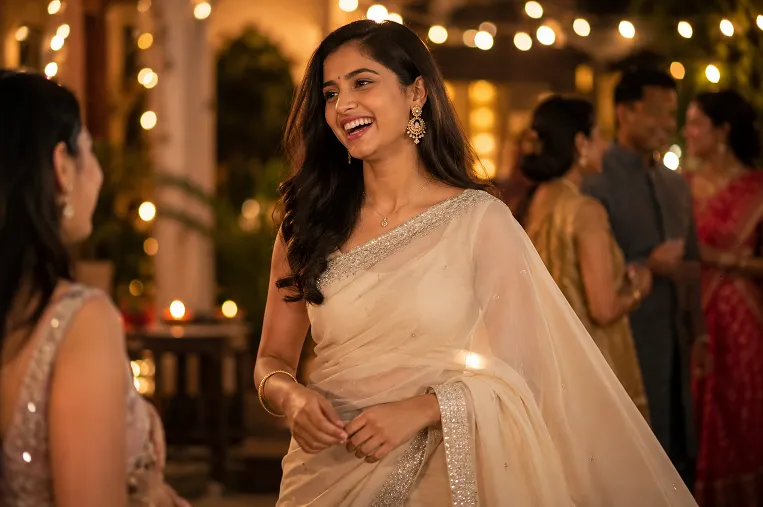
And here is my unpopular opinion: everyone treats stitched, ready-to-wear sarees as the lesser, lazier option compared to a hand-draped one. Honestly, a well stitched conversion that fits your body precisely often looks sharper in photographs than a hastily pinned drape that is slipping by hour three.
You know that auto rickshaw moment, holding your pallu with one hand and the door frame with the other, praying the pleats survive the ride to a Diwali get-together. A stitched saree removes that entire category of stress.
There is nothing lazy about wanting one less thing to manage on a long day. If you are weighing whether a pre-stitched saree makes more sense than a traditional one for your lifestyle, that comparison is worth reading before you decide.
Georgette and chiffon both catch light differently once pleated flat rather than draped loose, and a chiffon conversion tends to look softer under evening lighting while georgette holds a crisper, more defined pleat line through the day.
Conclusion
The real decision here is not how to stitch the pleats, it is whether this particular saree should be stitched at all. Pick a fabric that suits permanent alteration, measure carefully, and leave seam allowance for your body to change later, because it will.
If this kind of practical fabric guidance is useful, there is more of it across the Ethora blog worth exploring, including our saree petticoat guide for perfect pleats underneath any drape. Our store is launching soon, and everything on it comes either from our own manufacturing unit in Surat or directly from Surat’s textile manufacturers.
Frequently Asked Questions (FAQs)
Can a stitched saree be converted back to a normal saree?
Not cleanly. The stitching leaves needle holes and permanent creases along the pleat lines, and the pallu edge will show stitch marks even after you unpick the thread. Treat the conversion as a one-way decision.
How much does it cost to get a saree converted professionally?
Local tailors typically charge less than a specialised boutique conversion service, though pricing varies by city and fabric complexity. A heavily embellished silk saree costs more to convert than a plain cotton one because the embroidery slows down the stitching process considerably.
Which sarees should never be converted to ready-to-wear?
Avoid heirloom pieces, hand-embroidered silks like Banarasi or Kanjeevaram with dense zari work, and anything with sentimental value you are not ready to permanently change. If you want proper storage guidance for silk pieces you are keeping in their original form, our guide on how to store silk sarees covers that in detail.
Where can I buy good quality saree blouses or fabric online?
Check the fabric weight and finish before ordering, since photos online can make a thin synthetic look richer than it is. Ethora manufactures blouses and fabric at our own Surat unit and sources everything else directly from Surat’s textile manufacturers, which means genuine fabric knowledge and factory-level quality without the usual middleman markup once our store launches.
Can I convert a saree myself without a tailor?
Yes, if you have basic sewing machine experience and follow exact measurements rather than guessing pleat width by eye. First-time attempts go smoother on inexpensive cotton practice fabric before you touch the actual saree.